Tuesday, February 21, 2012

Introducing: Dalek Gan

     I mentioned briefly on Facebook that I had chosen a name for my Dalek, but I was waiting to disclose it. I wanted to live with it a bit and make sure that it fit well. I wanted something that sounded like it could fit with the names given by the Cult of Skaro in the new series, as my Dalek is one of the redesigned ones for the 2005 season. So, I started thinking about names awhile back, and before long one stuck in my head. The name itself comes from Stephen King's Dark Tower series, but I'm not attempting to draw any other inspiration from those books. I just thought the name sounded right for a Dalek. Caan, Sec, Jast, Thay and Gan. See?
     And so, I introduce Dalek Gan. But also, he'd like to say something. That's right, I have a quick sound bite of Dalek Gan in his own (read: my) voice. The modulator being completed, Gan is now able to express his intentions to the world. Listen here.
     That's about it for now, other than the fact that I have updated my hours on the right. And I also have found someone to borrow a trailer from (Aaron's dad in fact) in order to transport Gan from place to place as we work on him. I am still looking into a hitch receiver for the xA. I have researched it and it looks like the Dalek and trailer will be well under the xA's tow limit. I'll keep you posted on any new developments!

Stay Tuned!
-Scionic

Monday, February 20, 2012

It Begins: A Dalek's First Steps

     It has been a long, productive, long, very long weekend! I took advantage of the long President's Day weekend and loaded up the Jazzy 1113 Power Chair in the very tiny Scion xA, bound for the home of my friends Aaron and Michele. (Thank you very much for the great time) I realized early on I'd have to try and get Aaron in on the design of the Dalek. His camaraderie, skill set and mig welder (As I expected) have proven absolutely indispensable. In short, from this past Friday night until early this afternoon, we lived in Aaron's garage, burning our respective candles at both ends. After a hard work week's worth of hours in a single weekend, we have made an incredible step forward in the build. It's epic really, as you're about to see. So, let me elaborate upon what we did this weekend by posting a series of pictures and giving you the nickel tour.


     Here is where we begin. A trip to Home Depot, a lot of careful measuring and some holes placed to allow the as yet to be designed frame to rest against the fender bottom while allowing the wheels to contact the ground and roll freely. I'd like to note that such is my experience that at this point I was already excited to see the build beginning to resemble a Dalek. And also a startled Tiki Mask.


     This is an early picture of the angle steel frame, which Aaron welded using some leftover stock he had in the garage. These are the wheels and motors from the Jazzy. The only difference is that we mounted them upside down for additional ground clearance. We didn't want to build a Dalek with a 1 foot clearance. They aren't classically "off-roaders".


     In order to show you what most of our time was spent doing, I'm putting this one up here. Each piece of the frame was cut to length and placed one at a time. We just kept plugging away at it, and by the end of the first day, we had a little something like this:


     This picture shows the completed base frame. It's a very simple and very effective design and I give credit to Aaron for putting it together on the fly and coming up with a killer result! We can stand and bounce on it without any trouble. If it will hold up to the abuse we dealt during the build, it will do just fine when cruising about looking for inferior beings to exterminate. The only modification to the wooden base that we made was to widen the wheel holes considerably to allow for them to flex and to keep them from rubbing.


     Here is a picture of Aaron on one of our many test drives during the design and building process. We had yet to fasten the wooden bottom firmly to the frame and it dragged a bit, but once we tightened everything down, it ran like a champ.


     I must take a moment to note that the voice modulator was also completed this weekend and the Dalek's first words were spoken. The best part about this experience is that the very first thing that my Dalek ever did vocally was to sing "Behind Blue Eyes" by The Who. This was completely unintentional, but we realized the next day just how appropriate the song was for a Dalek to sing. Voice clips of the Dalek in its true voice (meaning me speaking through the box) are forthcoming. As soon as I can get a good speaker/microphone setup we're in business. I also have a clip of the Dalek's very first "Exterminate!" but I need to clean up the clip. Soon, though!


     I'll jump ahead to the completed fender. I say completed, but what I mean is, all the pieces are cut and nailed/glued into place. There is a lot of body filler and sanding to come here as well as a rubber overlay. The observant will notice that we had to alter the front  supports for the pivot wheel. We were going to run into issues with the skirt if we didn't. At this point, the wood work was done and we got started on the portion of the project that would take the rest of the time. The skirt skeleton:


     Here you can see the beginnings of the skeleton base. We were moving along, cutting each piece to length and making it fit just inside the footprint of the actual skirt measurements. The idea is to bolt the panels onto this frame and eliminate a lot of need for bulky internal wooden supports as dictated by the official plans. As a result, I believe we will definitely have a lot more breathing room inside.


     This is a shot of the skeleton beginning to take shape. We were very particular as we went along to make sure that the angles of the ribs were correct. If you get this part of the Dalek right, not only is the rest easier, but if this part isn't right, then it doesn't really look like a true Dalek and you end up with an approximation. Needless to say we were careful. As we went on, we fell into a pretty good rhythm, with Aaron on the ground welding and marking pieces of steel, and then I'd cut them to length and grind edges. Before it was over, we were looking like a pair of seasoned Dalek builders. Just ask Aaron's wife. She was absolutely blown away by our skill. Yeah. Sure she was. ;)


     And here you have it. This is a shot that I took just before I left Columbus. The skeletal frame even has a removable panel for accessing internal electronics and the like. Initially it was for entry as well, but we discovered that it was quite fast and easy to step over the back and onto the seat to enter, and a little troublesome to work the wing nuts from the inside.
     So you can see that we accomplished a lot of work for one weekend. I'll be adding everything up and updating the hours along with linking Aaron's gallery of the weekend. Everything went very well. I'll be making another trip to Columbus again before too long to do another (shorter) weekend with Aaron. He's every bit as excited about the project as I am so he's agreed to work with me some more on it. We work pretty well together and it was demonstrated more than once this weekend that two heads are better than one. The only big issue this weekend was that I couldn't fit the completed portion of the Dalek into my car. I should have seen that coming, but there you have it. I had to leave it in their garage, and I'm now considering how best to transport a project that is bigger than the back seat of your car. I'm looking at trailers and hitches and hoping to find a deal. As many accommodations as have to be made for the Dalek, though, I'm still very much looking forward to continuing and finishing. I absolutely can't wait to unveil him this summer.

More to come!
-Scionic

Wednesday, February 1, 2012

Voice Modulator Update


     Voila!

     There you have it! This is a shot of my modulator in its current state. All of the soldered components are on the board. The next steps are heat sinks, fitting it into the project box and wiring it out to all of the peripheral components. Honestly it may be some time before I have everything in place to really test things out, but I am pleased with the progress so far. I didn't feel uncomfortable at all soldering this together. I was very careful concerning heat and static, but we'll see if I was careful enough before long. I do have spare ICs in case I ruined them somehow. (Those were inserted after this picture was taken, but they're in too.)
     I'm going to be shopping for the peripheral parts of the sound system in the coming days, but I now also look ahead to the next phase. As I mentioned briefly, I'd like to get the fender and base of the Dalek together, as it will power and support the rest of him. This will involve welding, which is a discipline I am hesitant to simply jump into, buy equipment for and have a go. Fortunately for me, I do have a good friend a short drive away who is going to be assisting me (yet again) in matters Dalek. He's got some welding chops, and a garage, which is perfect. I'll just show up with some wood and a Jazzy scooter, and off we'll go!
     I hope I'll pick up some welding skill or at least an introductory familiarity with it. Enough not to burn my, or anyone else's face off. That's what a large part of this project is about anyway. (Not burning my face off, but skill acquisition)
     A quick story about how this crazy project has already been validated for usefulness in the real world:
     At work this week, I was confronted with a problem. a $2500 ID Badge Printer had been damaged and was brought in for me to inspect. The USB connector on the back of the printer had been yanked and was broken. Quickly researching the parts, I found that the circuit board containing the damaged connector would cost the company $600. Better than a whole new printer, of course, but still not small change. So, I tried something else.
     We had an old laser printer collecting dust on my shelf. And yes, this laser printer used the same USB-B connection that the fancy ID printer used, so what did I do? I drove home and grabbed the electronics kit I've been assembling for the Dalek. I was able to desolder the component I needed from the laser as well as the broken one from the ID printer, and replace it. Cost? The price of a single Torx driver that I needed to get at the ID printer's board. So, just like that, $600 saved all because of a Dalek Voice Modulator.
     More to come on the Modulator, as well as the base. Stay tuned!

-Scionic

Wednesday, January 25, 2012

Continued work on the Voice Modulator

     Tonight was a good, productive night. I can now say with a fair degree of certainty that the circuit board is complete. The exception is that I will probably try to transfer the component side artwork over to the PCB. Functionally though, I have it!

From this:

To this!


     Before long, I'll be putting my newly practiced soldering skills to work. I'm a little nervous about screwing it up, but if that happens, I still have enough board for more attempts. No worries.
     So far the hour count is at about 5.5 which includes the etching and other PCB prep. I think I'll add some kind of widget to keep track of the build hours. I'll be interested to see just how long it takes from start to finish. Watch for that over on the right.
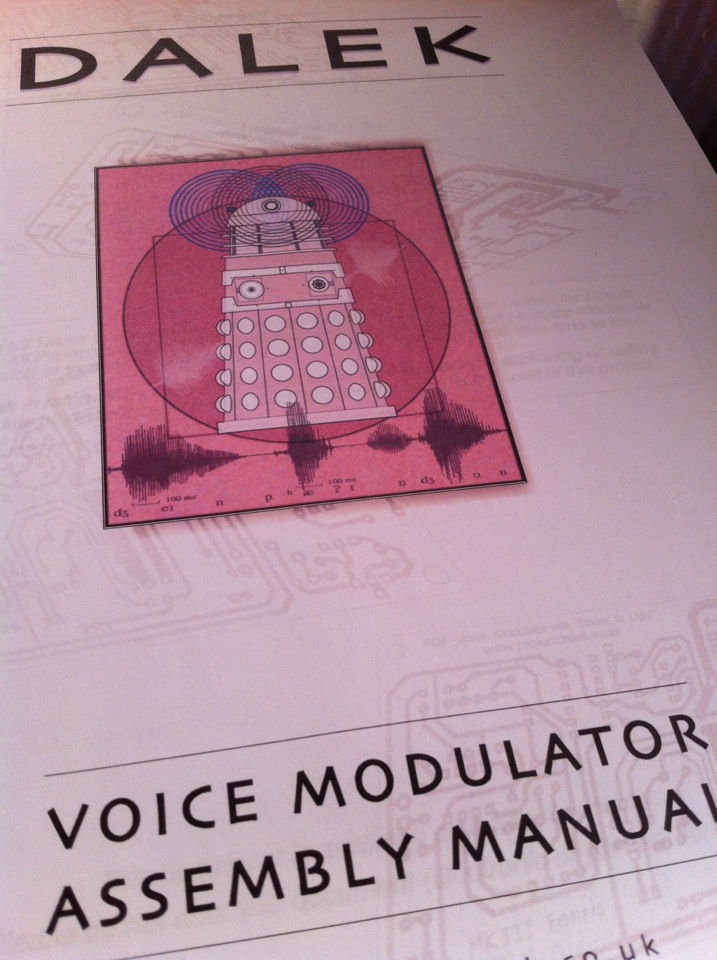
     In other news, my shop manual arrived from the UK today. It's the one document that you have to purchase from Project Dalek if you're serious about building one. Coming in at about $12, it appears to be well worth the cost it'll save me in guesswork. I haven't gotten the opportunity to read it cover to cover yet, but that's the next immediate task. I'll have some decisions to make about how I'm planning to build certain parts and out of which materials. Naturally, all of that will be reported to you, faithful readers! I'm talking especially to you, my 3 followers! I hope to one day have as many as 5. I know. We can all dream. :)
     I'll report in on my thoughts after reading my shop manual. Until then, thanks for dropping by!

-Scionic

Thursday, January 19, 2012

Waiting for Voice Modulator components.

     The plans for the Dalek Voice Modulator are pretty straightforward, even for me. I can look at them and make some kind of sense of what's going on in the diagram. That is a testament to the clarity of the documentation and not to my ability to read circuit schematics. So, when all of the parts have arrived and the PCB has been etched and I'm ready to begin assembly, I feel fairly certain I can do it correctly. What I am uncertain about is my ability to actually, physically attach the components together on the board. I'd really like to get it right the first time.
     To that end, I have been frequenting Radio Shack of late to buy a couple of their basic solder-together kits. The first one went off without a hitch, being quite simple. It was a sound to sight project, which basically picks up noise and responds by flashing an array of 4 LEDs. Here is a short clip of my project in action (utilizing a sound bite that may be familiar to some of you):


     Tonight, I did a project that is SUPPOSED to be a night light. It should be a small box with photo-resistor and a single large LED that comes on in the absence of ambient light. It was not on PCB, but rather a piece of perf board. It was a much less rigid design, but I was mostly able to follow it. By the time I had the soldering completed, I feel like I had managed to gain a bit more competence both with the soldering and reading the diagram.
     At the end, I plugged in the 9-volt battery and the light came on, however it does not go off. So, I essentially have a flashlight that you have to unplug to turn off. I was quite amused. Chalk it up to experience gained. I must have a short or damage somewhere that I am unable to identify. I look at it as making my actual goal, that of the voice modulator, more attainable.
     Hopefully, the PCB will be here tomorrow, which is the earliest possible arrival date. If so, the etching will be first on the list!
    On a different note, I am trying to figure out which part of the Dalek's exterior to begin with. I believe I'll start with the fender. The bumper at the bottom which will also house the motors and wheels from the Jazzy. Seems as though I need to build on a foundation so I know everything will fit. Indeed everything does have to rest on the base. As my dad might say, "Every tub sits on its own bottom."

Talk to you soon!
-Scionic
   

Tuesday, January 17, 2012

Dalektible - Inaugural Post

Hello and welcome to Dalektible! This blog will document my attempt to plan and build a Dalek to be premiered at GenCon 2012. My hope is that you, the reader, will enjoy following along with my progress. First things first, though. Let me fill you in on the story thus far.

I decided at the beginning of January  to undertake this project after having mulled it over for a few months. It originated with the vague idea of building something cool over an old Jazzy power chair. I didn't have one, but I just knew that it would be an awesome base for something like, oh, Professor Xavier's Wheelchair, or Captain Pike's, or something. And then it hit me. A Dalek! What a fantastic idea!
     I came to find out through a little Internet research that there are clubs that have been building these things since Dr. Who was in its infancy. And so I perused diaries of those who had gone before and came across several sites dedicated to the building of Daleks of all shapes and sizes. The place I decided to land was projectdalek.co.uk. The wealth of material and the thriving forum was very exciting and I started to think, amid periods of serious self-doubt, that I could indeed possibly pull this off.
     I should point out that I am a novice to many of the disciplines that this project will demand, including metal cutting and welding, circuit building, fiberglass molding, and others. I will likely be documenting a great many mistakes along with a few triumphs, so follow along if you'd like to learn what not to do!
     And so, that brings me to January 2012. I had been saving up a little, so I could begin to gather the necessary parts. The first challenge was my power chair, which I have recently acquired:


This is a Jazzy 1113, which I will be attempting to use as the power base for my Dalek. It will likely have to be modified to fit correctly, but I think it should work. It was purchased second hand and I think I got quite the bargain.
     The first piece of construction I'll be attempting is the manufacture of a custom voice modulator so that when I actually do pilot my Dalek, I'll be able to sound like one. I'll be following a build manual that was authored by one of the very talented Project Dalek builders. The modulator is going to be built from scratch, employing PCB etching and soldered components. The end result will provide me with a very flexible sound for my Dalek's voice. Stay tuned for more on the modulator. The PCB blanks are in transit, and I have an electronically gifted friend helping me put together my list of materials for the build. (Along with recommending a few modifications that will no doubt prove excellent) I expect construction to begin next week!


     By the way, I won't be linking any of the build manuals directly throughout the build as the Project Dalek site authors prefer that you join up to acquire those materials. If you are interested in building your own Dalek, I highly recommend them. You can join for free, but may donate to support the site. So far the staff and other users have been very friendly and helpful.
     That feels like a good kick-off to me. I hope you enjoy watching the progress. It helps me stick to my goals if I post things publicly. And so, let me say thanks for reading and I hope we all end up having a lot of fun with this!

Allons-y!
-Scionic